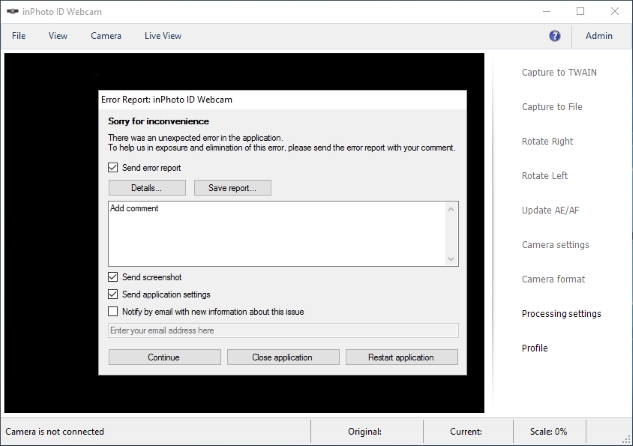
GUI … has stopped working
Error: "GUI … has stopped working" |
Top Previous Next |
|
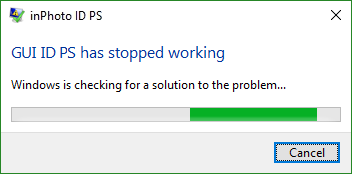
Issue: When you try to start the IDPhoto or inPhoto application the error message GUI … has stopped working appears.
Cause: The application requires .Net framework 3.0 and .Net framework 4.5.
Solution: Install .Net framework 3.0 or later and .Net framework 4.5 or later on your PC. You can use the universal way – download the suitable .Net framework features from the Microsoft website. We suggest .Net framework 3.5 (Full Package) accessed at https://www.microsoft.com/en-us/download/details.aspx?id=25150 and .Net framework 4.5.2 accessed at https://www.microsoft.com/en-us/download/details.aspx?id=42642. Or you can choose the more convenient way – install .Net framework features using Windows. The detailed instruction is given below.
If the issue persists after you have installed the .Net framework features, please re-install the application. Follow these steps: 1. Fully remove the application from your PC. A step-by-step guide is given in the article at https://idphotocapture.com/removing-inphoto-and-idphoto/. 2. Restart the computer. 3. Install the application. |