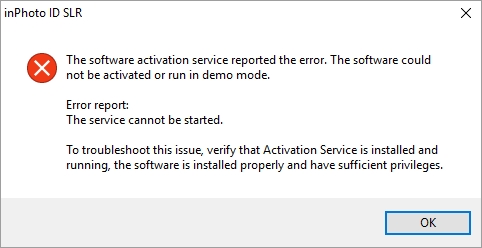
Fails during start with “System time” error
inPhoto Capture 1.x or inPhoto ID 1.x fails during start with “System time” error |
|
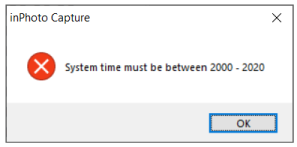
Issue: During inPhoto ID 1.x or inPhoto Capture 1.x start you are getting error message “System time must be between 2000-2020”
Solution:
Check the exact installed product name. It is shown in the header of the error message window. Update your version to 1.10.3 from archived product page: or use direct links: 1. inPhoto Capture 1.x 2. inPhoto ID 1.x Before installing the updated version please close the inPhoto application and check that it is completely closed and not minimized to tray. Before installing the updated version please also check that you have a license serial number of the installed product. Generally update will not reset your license information, but in rare cases new activation may be needed. Refer to following article on possible ways of restoring serial number: How do I recover my Serial Number If you have a custom version of the inPhoto Capture 1.x or inPhoto ID 1.x applications please update your version manually instead of installing a new version. for inPhoto Capture 1.x
for inPhoto ID 1.x
If you need to manually edit inPhoto.ini file please locate it in following folders: for inPhoto Capture 1.x
for inPhoto ID 1.x
Please notice that inPhoto.ini in “All Users”/”ProgramData” folder is only used as default .ini file for new users during the first start of application. inPhoto always uses values from “Application Data”/”AppData” .ini file. If you want to apply changes to ini file then you need to edit all inPhoto.ini files for all users, or you can edit only one .ini file in “All Users”/”ProgramData” folder and delete folders created for users, so they will be restored on next start with default values from “All Users”/”ProgramData” folder. |