How to manage, edit, and transfer a configuration file?
How to manage, edit, and transfer a configuration file? |
|
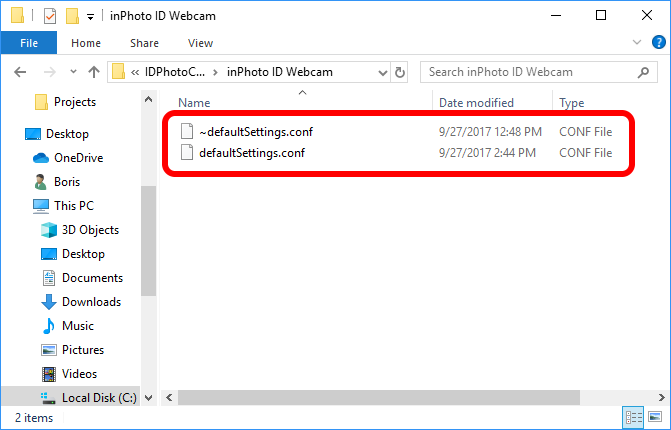
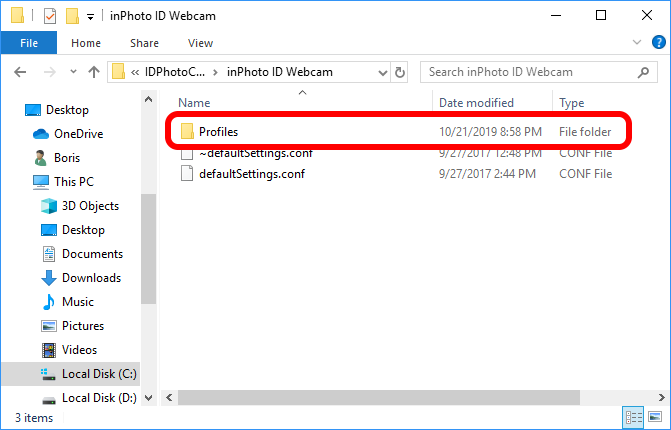
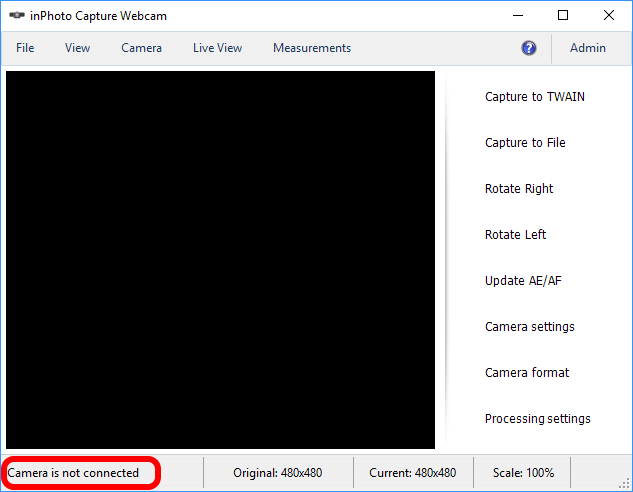
A configuration file contains the current application settings: camera settings, interface settings, image processing settings and others. You can edit the configuration file. And you also can transfer it to another computer. The configuration file of any inPhoto or IDPhoto application is called defaultSettings.conf. Every time the application starts, it backs up defaultSettings.conf which is called ~defaultSettings.conf. If defaultSettings.conf is wrong or missing the application loads the settings from ~defaultSettings.conf.
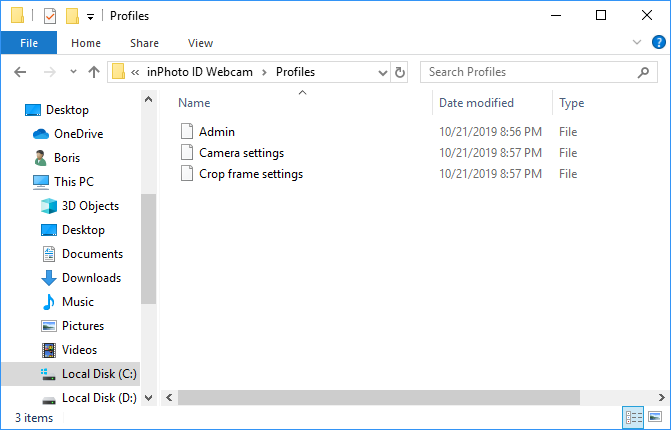
Paths to configuration files located in Windows Vista/7/8/10:
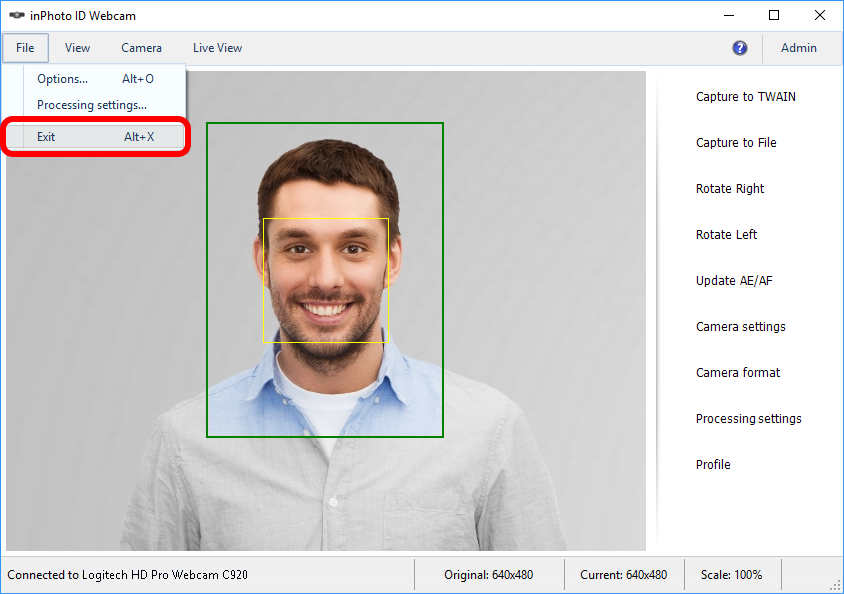
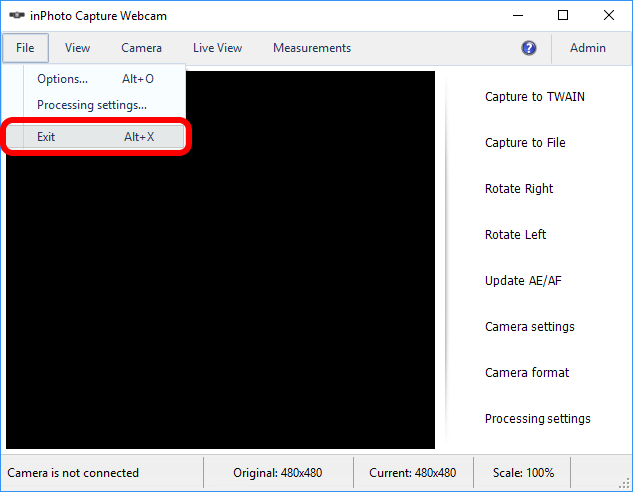
How to edit an inPhoto configuration file? Occasionally, you may need to change the application settings using the configuration file. We will show you how to edit the configuration file with a simple example. We will change the value of the image counter so that image numbering doesn`t start with 1, but with 1000. Please follow the steps: Step 1. Close the inPhoto application. Please do this via the File menu -> Exit. If you use
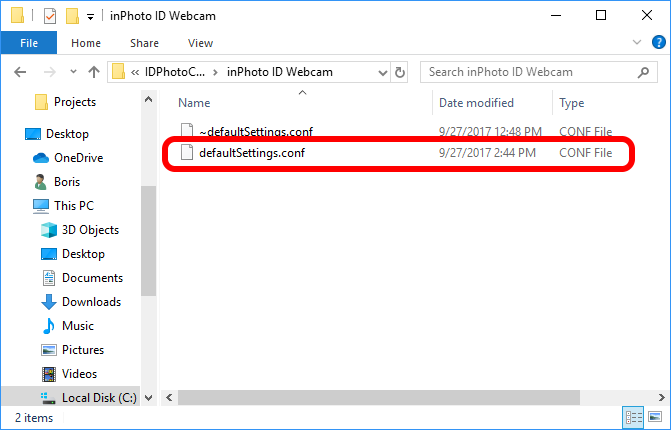
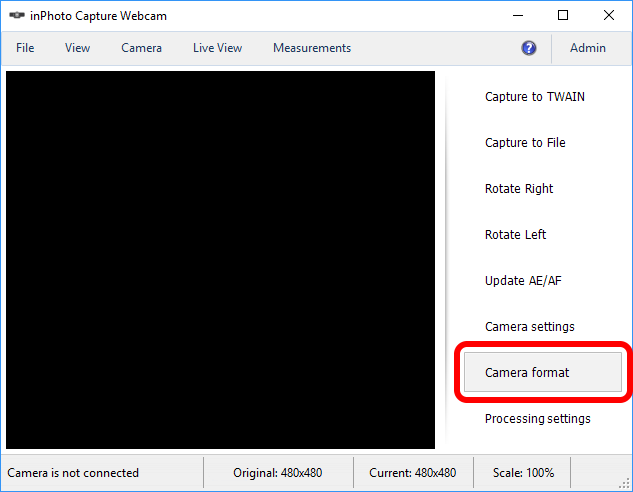
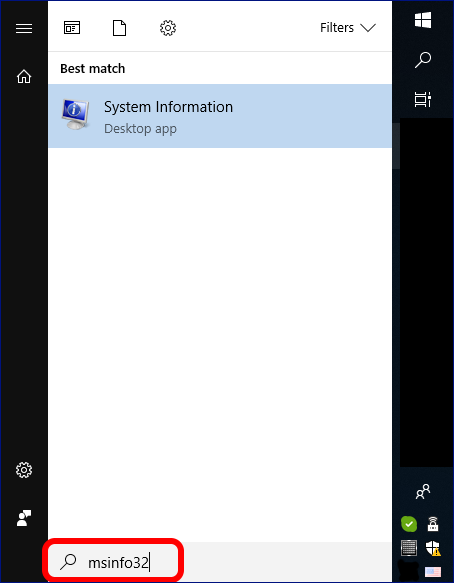
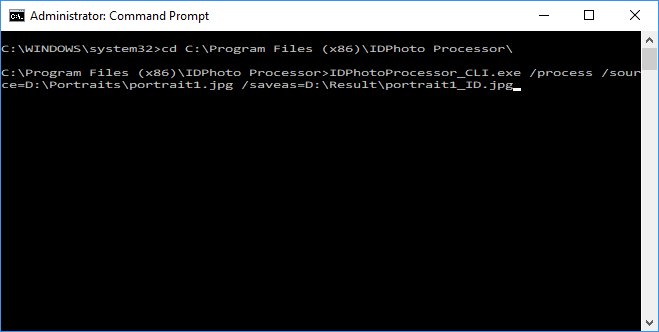
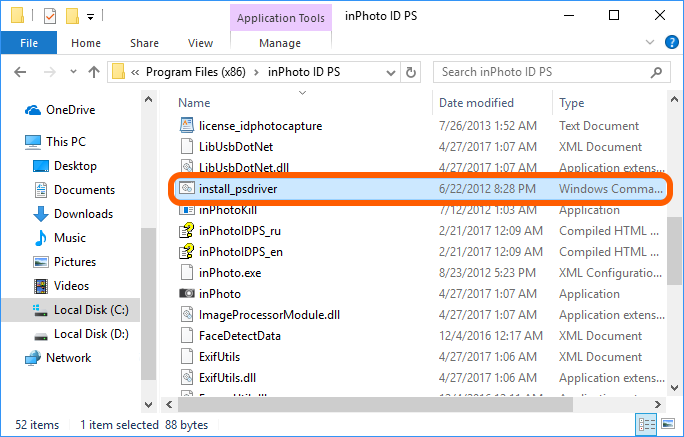
Step 2. Find defaultSettings.conf on your PC. The paths to the configuration files of the inPhoto or IDPhoto applications, please see in this article here.
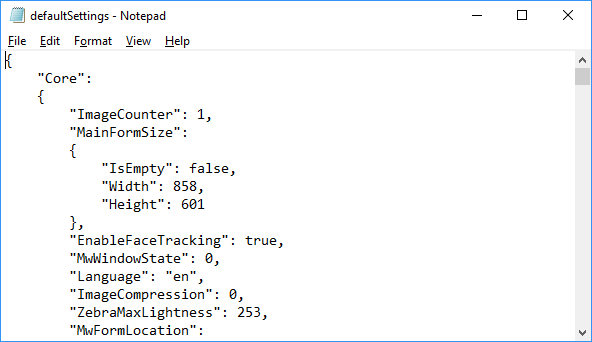
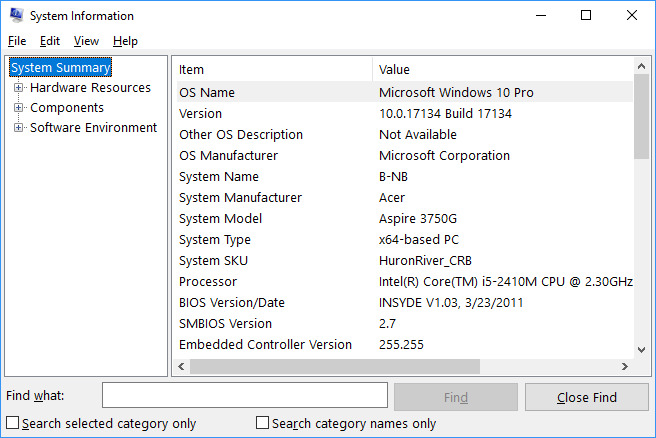
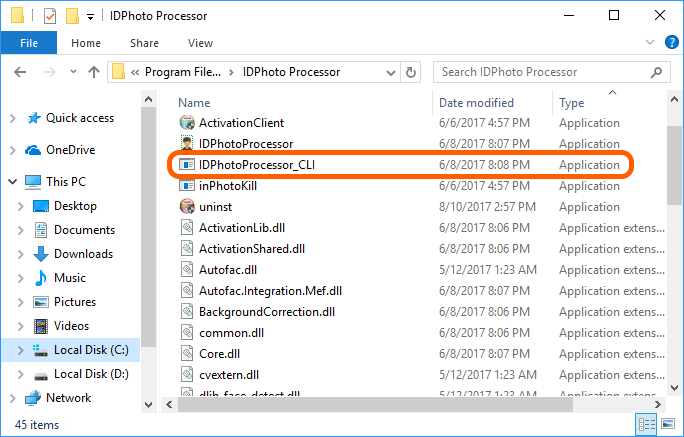
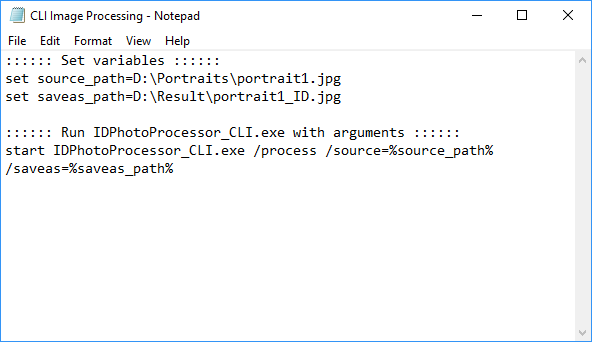
Step 3. Open defaultSettings.conf by any text editor. We use Notepad.
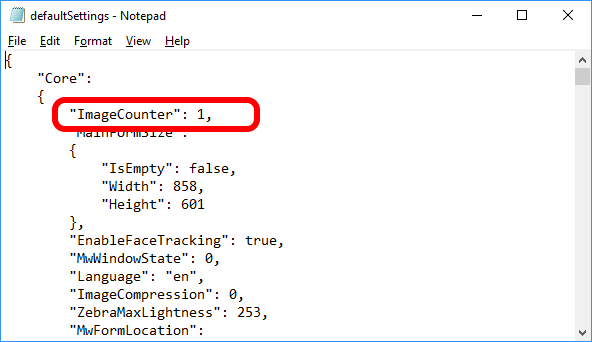
Step 4. Find ImageCounter in the Core section. This variable stores a number of the next saved image.
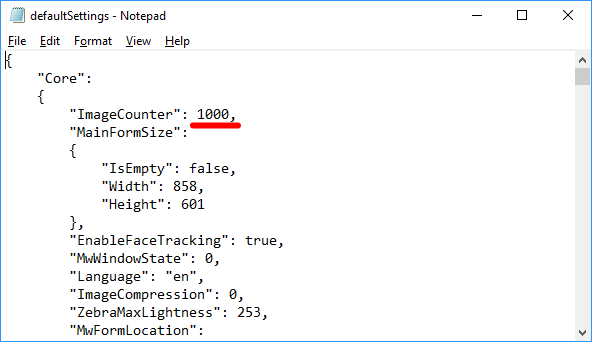
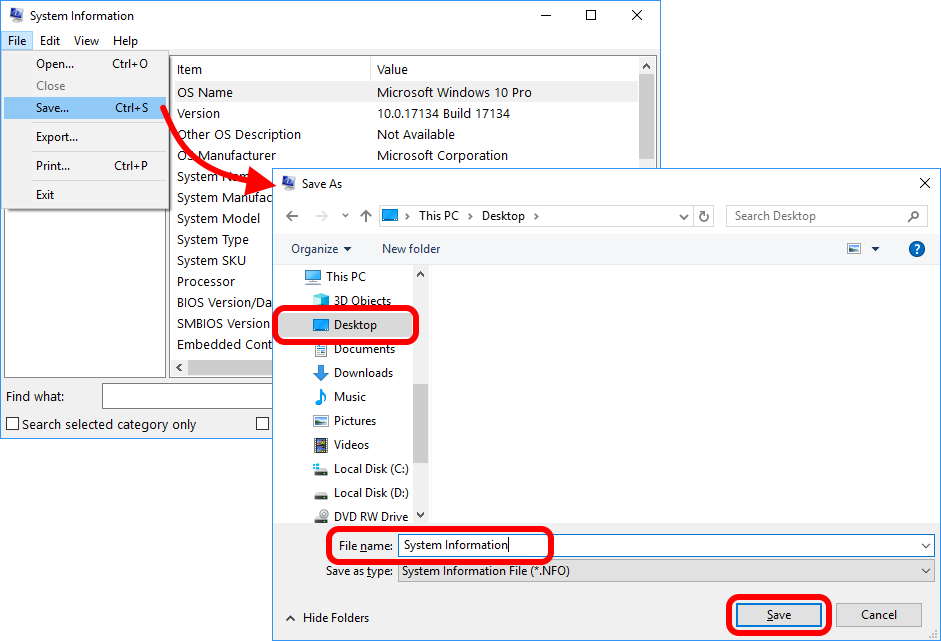
Step 5. Change the ImageCounter value to the one you want to start numbering of the saved images. We change 1 to 1000. To save changes press Ctrl+S on the keyboard or click Please pay close attention when editing the configuration file. If you delete "," or ";" or "}" or another punctuation mark by mistake the file structure will be broken and the application won`t be able load the file. In this case, it loads a backup which doesn`t have your changes.
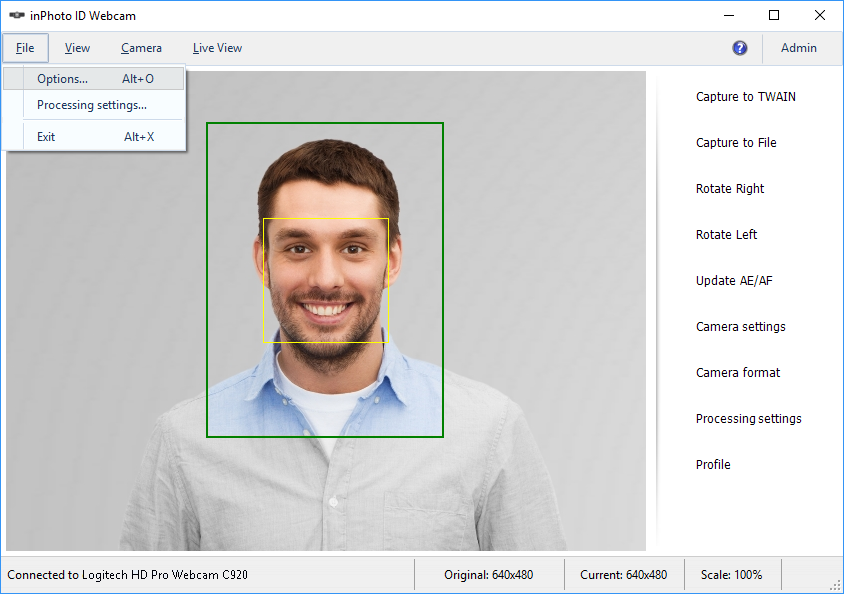
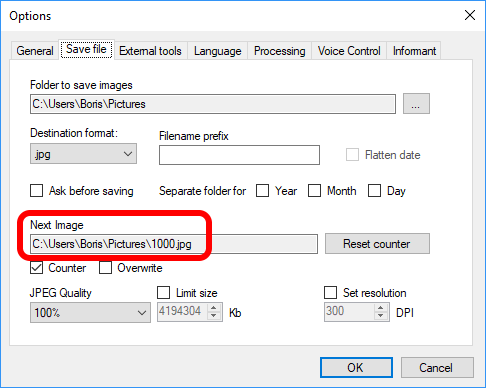
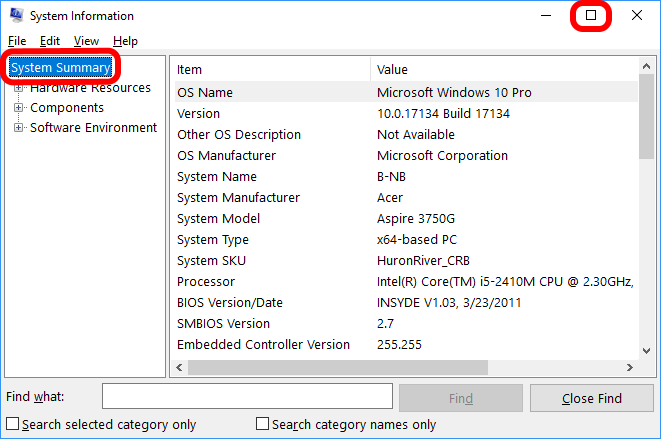
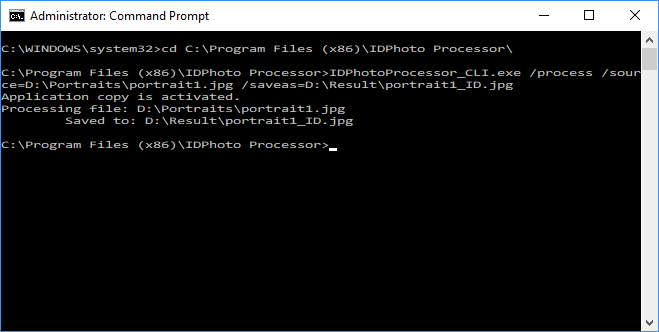
Step 6. Start the application. Step 7. Check the ImageCounter value. To do this, open the File menu -> Options -> the Save file tab -> the Next Image box. In our example, we see the counter in the image name is 1000 as we have written in the file.
If you see the value has not changed the defaultSettings.conf structure was likely broken during editing. As a result, the application could not load defaultSettings.conf and loaded the backup and then wrote the settings loaded from the backup to defaultSettings.conf. So when you open it you will see ImageCounter has old value. In this situation, to attain the goal and change the setting – simply repeat the above steps saving the configuration file structure.
How to transfer the configuration file to another PC? Sometimes you may need to transfer the configuration file to another PC or another user. It`s easy to do: copy defaultSettings.conf on your computer (file location, please see above) and replace defaultSettings.conf on a computer where you want use your settings. In the same folder with defaultSettings.conf, you will see ~defaultSettings.conf. It`s a backup of the configuration file. You don`t need to copy it.
See also:
|