inPhoto ID Webcam or inPhoto Capture Webcam preview
|
|
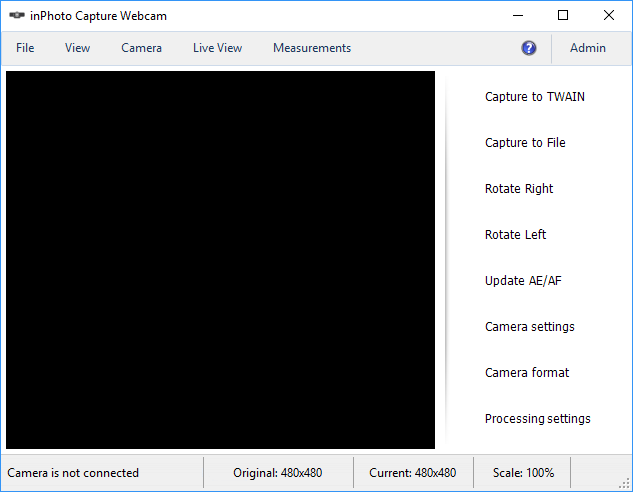
Issue: After you have started inPhoto ID Webcam or inPhoto Capture Webcam, the preview remains black in the application window.
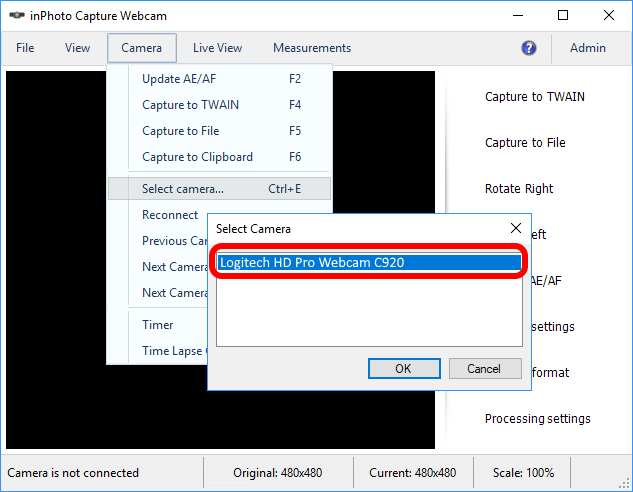
Cause: To determine the cause of the problem, please check two things: 1. Open the Camera menu -> Select camera and see if your camera is in the list.
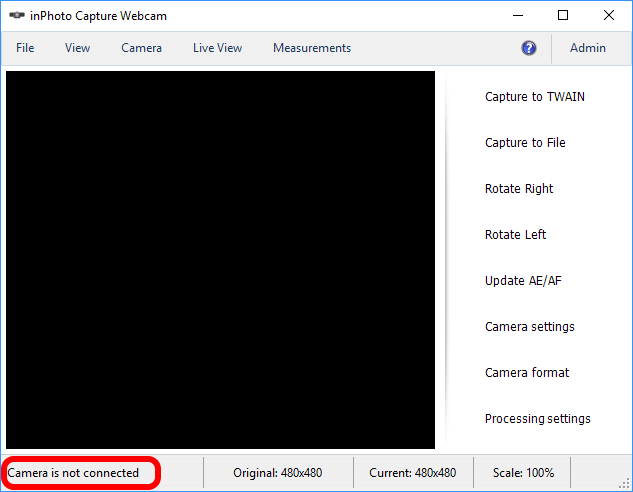
2. See which message appears in the status bar.
If your camera is in the list and you see the "Camera is not connected" message in the status bar the specific resolution is likely set on your camera that inPhoto ID Webcam or inPhoto Capture Webcam doesn`t support. If you have another situation, please connect to our support at support@idphotocapture.com.
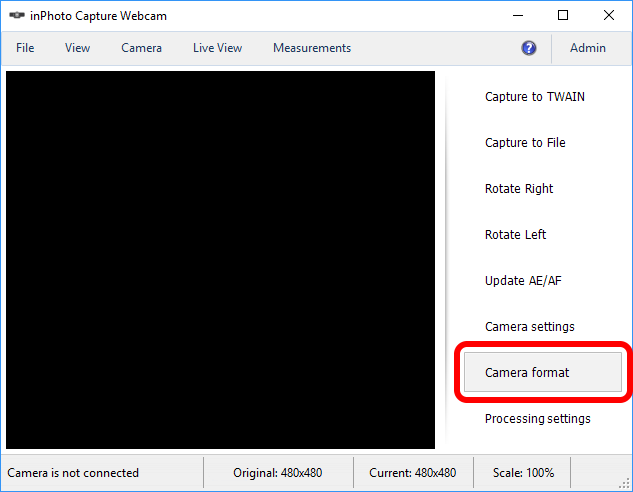
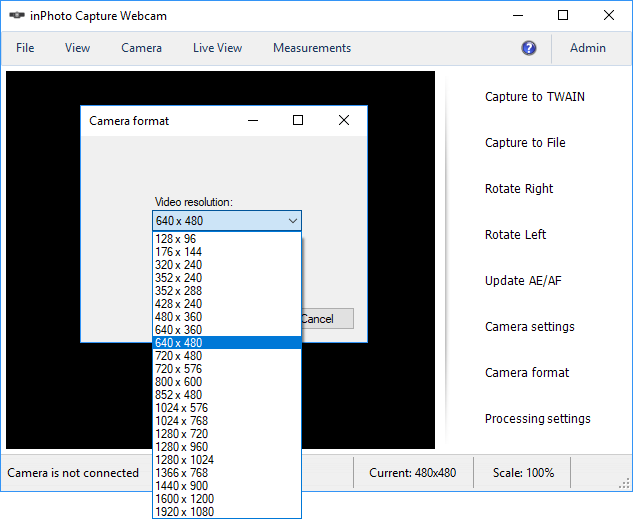
You need to change the camera resolution and restart inPhoto ID Webcam or inPhoto Capture Webcam. Please do this as follows: 1. In the inPhoto ID Webcam or inPhoto Capture Webcam window, in the menu at right, click Camera format.
2. Select the 640×480 value from the Video Resolution drop-down list -> click Ok.
In the Camera format dialog, the Snapshot resolution field may also be available. This means that your camera has an option to set different resolutions for a preview and a snapshot. In this case, please only change Video resolution, but do not change Snapshot resolution.
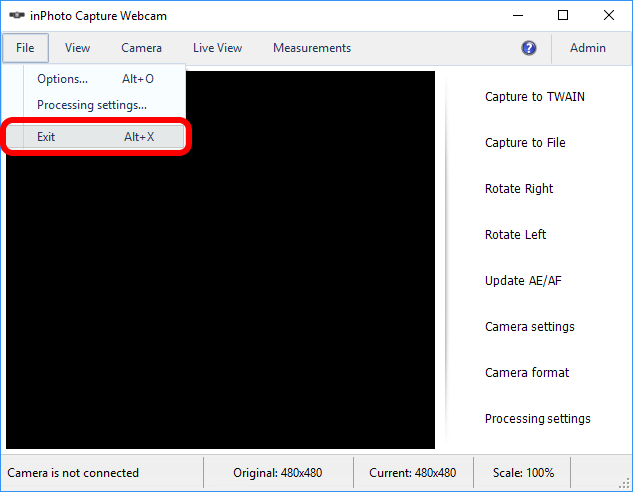
3. Restart inPhoto ID Webcam or inPhoto Capture Webcam: Click File -> Exit and start the application again.
Please use only the Exit button to close inPhoto ID Webcam or inPhoto Capture Webcam so other ways may not close the application completely.
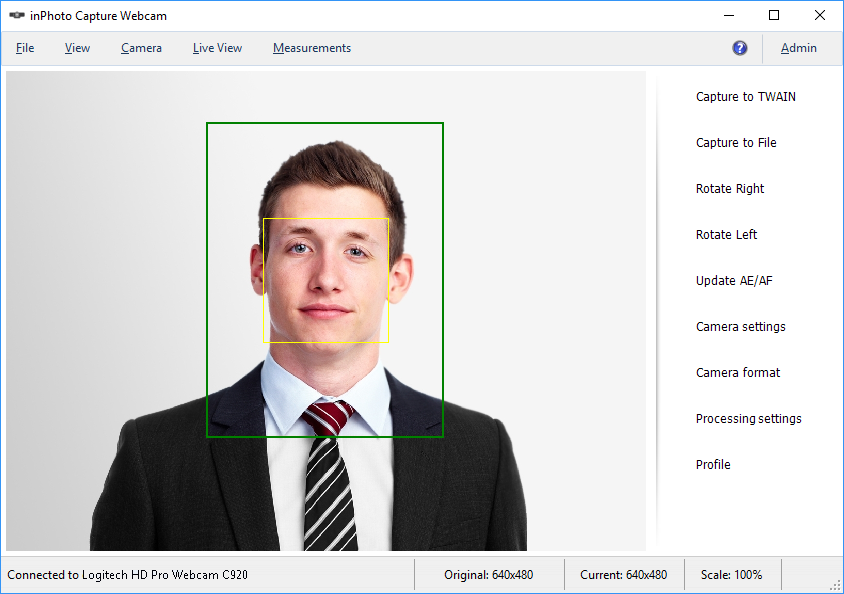
If the above steps have fixed the problem you will see the camera image on the preview after application start.
Now that the application works properly you can select another resolution from the Video Resolution list you want to use.
|

