To automate the processing process through the command-line interface, we use a batch file.
We'll write the following script in the batch file: run IDPhotoProcessor_CLI.exe with the /process (run processing), /source (the place to take the source files from) and /saveas (whereto to save the processed files) parameters.
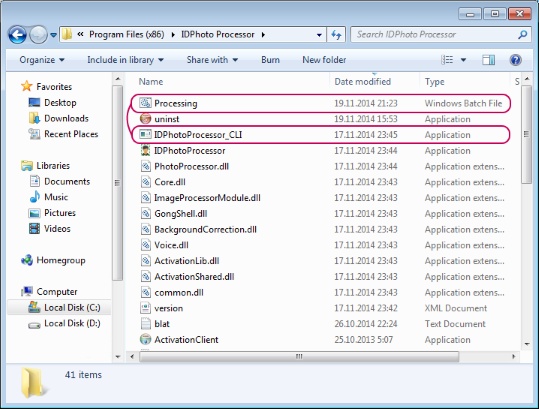
Step 1. Create a batch file with the bat extension and place it into the same folder where IDPhotoProcessor_CLI.exe is located.
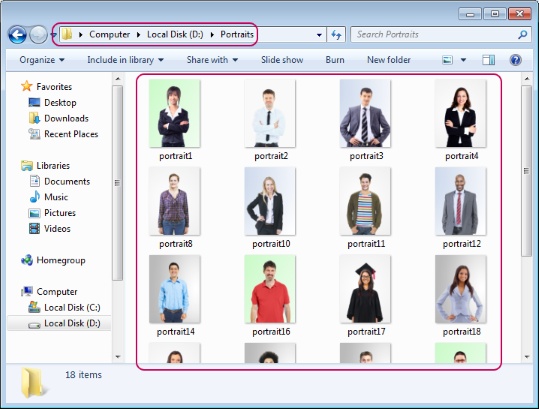
Step 2. Create source_path and saveas_path variables in the batch file and assign values to them. Assign the path to the folder from which the source files are taken to the source_path; assign the path to the folder into which the processed images are saved to the saveas_path.

text
If you want to process not the whole directory but one or more specific images, some examples of entries for different cases can be found in the section Examples for processing a single file, several files or a directory.
 Please pay attention that the directory path should not contain any extra separators – slashes – in the /source and /saveas parameters. For example, the following entry will be invalid and will cause an error: /source=D:\Portraits\ /saveas=D:\Result\
The correct entry should look like this: /source=D:\Portraits /saveas=D:\Result
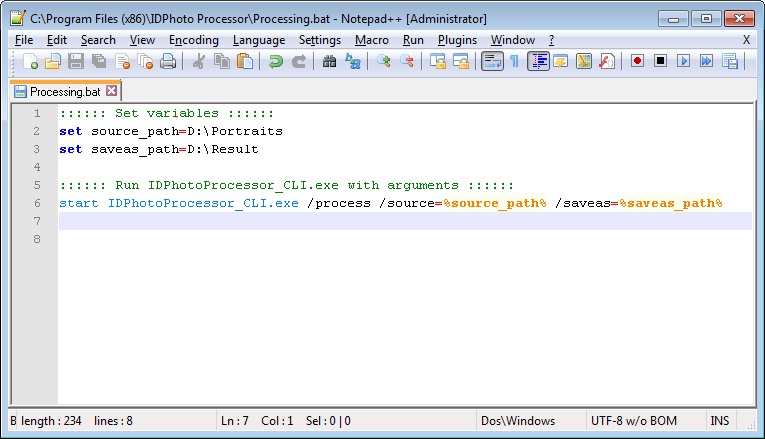
:::::: Set variables ::::::
set source_path=D:\Portraits
set saveas_path=D:\Result
Then describe running IDPhotoProcessor_CLI.exe with the /process, /source and /saveas parameters. Assign the values of the source_path and saveas_path variables to the /source and /saveas parameters.
:::::: Run IDPhotoProcessor_CLI.exe with arguments ::::::
start IDPhotoProcessor_CLI.exe /process /source=%source_path% /saveas=%saveas_path%
An example of the file contents is shown on the picture below.
Step 3. Run the batch file.
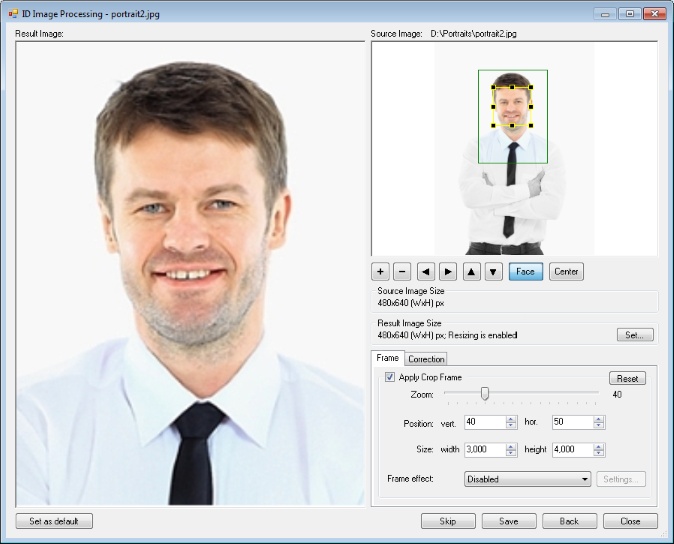
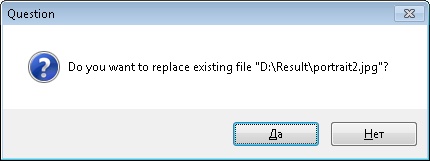
Depending on the settings, the application may display the ID Image Processing dialogue and the confirmation for overwriting the file during processing.
More details on the Show processing window setting displaying the ID Image Processing dialogue may be found in the General Settings section. More details on the Overwrite existing files setting displaying confirmation for overwriting the file may be found in the Saving Processed Images Chapter.
Upon completing the processing, a message with the statistical report may be displayed. More details on the setting which enables displaying of the message and the report information may be found in the Statistics Chapter.
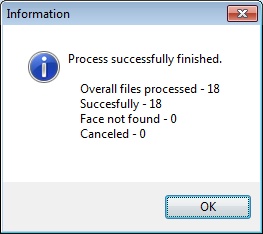
If the processing is run for one image, the message with the report will not be displayed.
Step 4. Check processing results.
Information on processing and saving images is displayed in the command-line window.

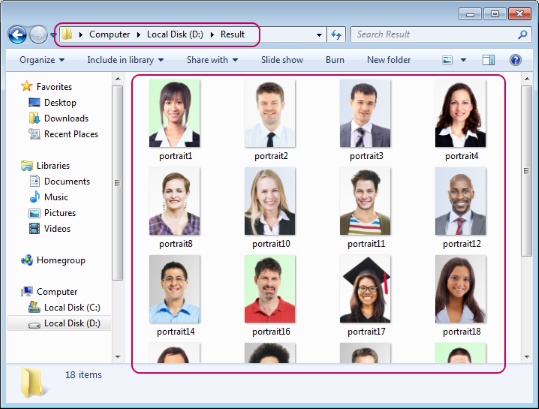
Look at the images in the explorer.
You can see on the pictures below that the images from the folder indicated in the /source parameter have been processed and saved to the folder indicated in the /saveas parameter.