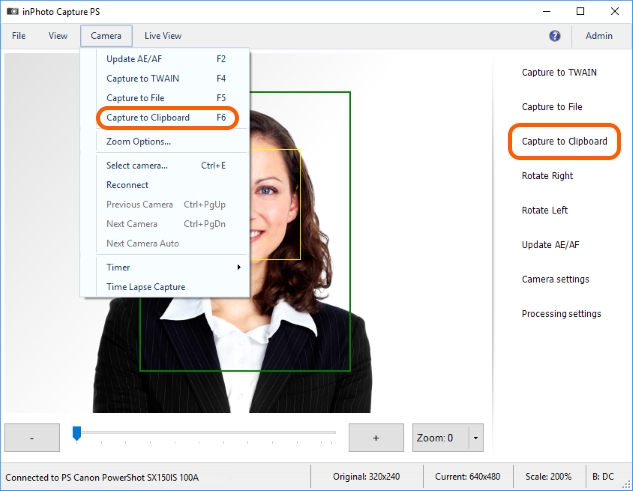
The Process to Clipboard command executes snapshot, its processing and saving to the clipboard.
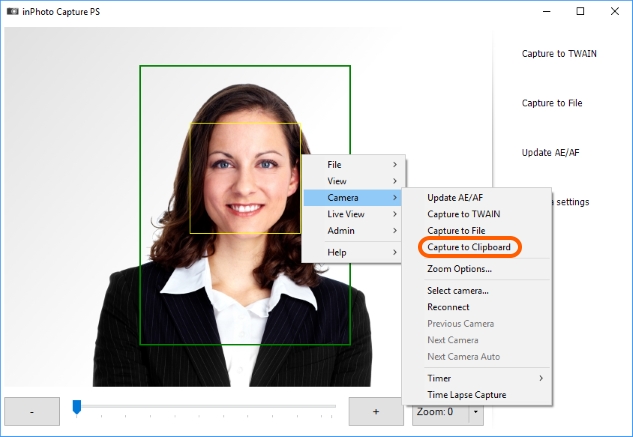
The command can be started from the Camera main menu > Capture to Clipboard or from the side menu by pressing the Capture to Clipboard.

By default, the application interface is set in such a way that the Capture to Clipboard button is hidden on the side menu. To make the button visible, please enter the File menu > Options > General tab and set the Show Capture to Clipboard button setting.
So, let's run the Capture to Clipboard command and take a look at how it works.

text
When a picture is taken, the program's preview stops. This is a normal behaviour, because when you are capturing an image the camera's preview stops too.
Further course of processing depends on the settings set by the user. Please note that the key processing settings are located in the File main menu > Options > Processing tab.
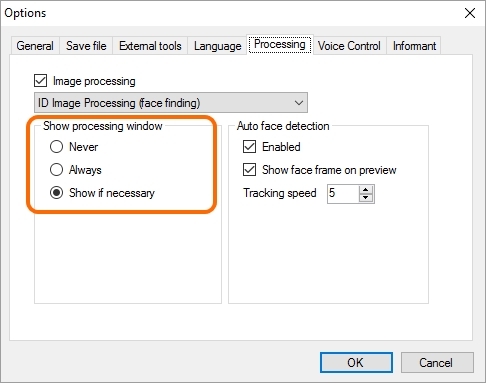
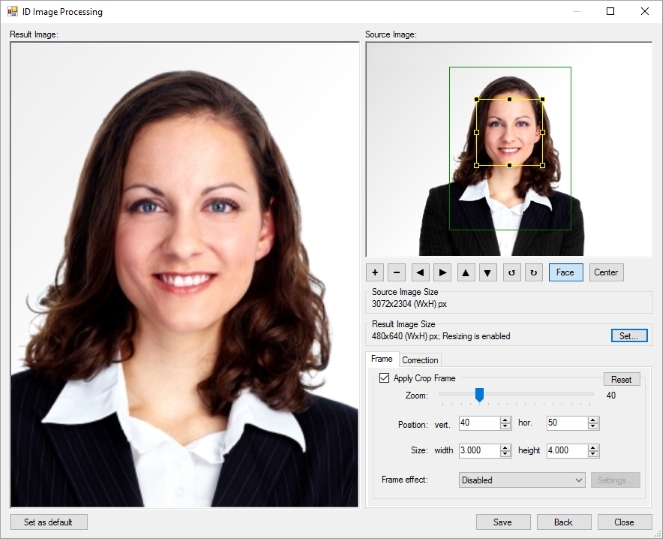
By default, the program opens the ID Image Processing dialogue during processing only if a user's participation is needed for processing the image. The dialogue will not be opened for the successfully processed photos.
You can read more details on processing settings and the ID Image Processing dialogue in the General Settings, ID Image Processing dialogue, and Actions sections.
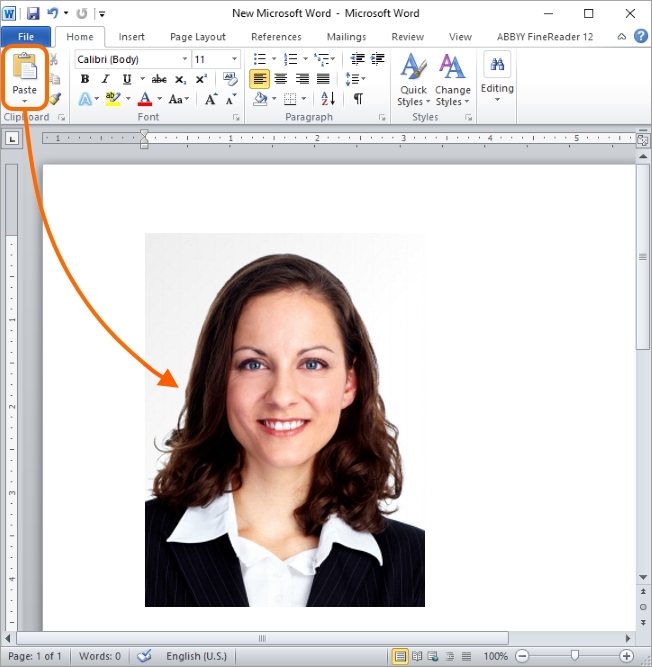
Upon processing completion, the image is placed into the clipboard. To see the result, let's paste the processed image from the clipboard into Microsoft Word, for example.
For this purpose, please open Microsoft Word and press Paste on the Home tab of the main menu. After that, the processed image will be pasted into the document. The result is shown in the picture below.
Please note that inPhoto Capture PS is set by default as to be minimized to tray after processing completion. More details on settings regulating processing completion may be found in the Processing Completion section.