In this sentence, we will show you how to make a series of shots using the Time Lapse Capture option.
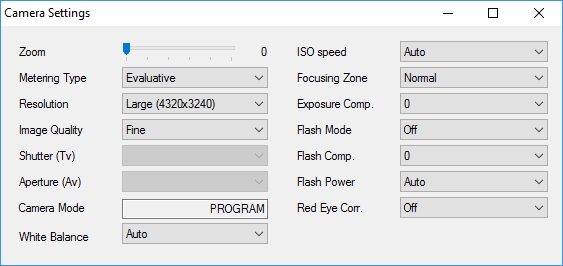
Step 1. Before running Time Lapse Capture, make some test shots. If the quality of the images is OK for you, move to the next step, if not, correct the camera settings. Please see the Camera Settings section to get more details.
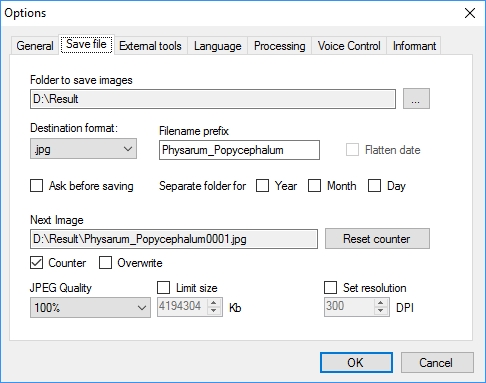
Step 2. The Time Lapse Capture option saves the captured image into a file. Before running Time Lapse Capture, set the settings of saving. Please see the Image Saving section to get more details.
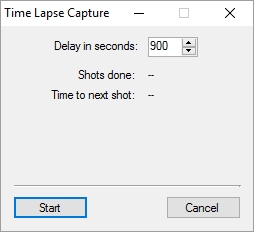
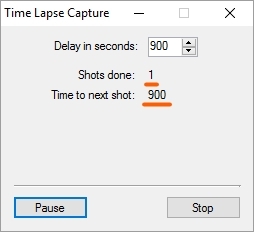
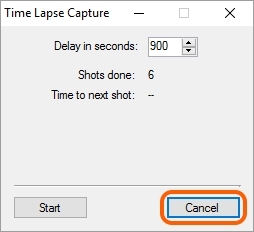
Step 3. Open the form of Time Lapse Capture. In the Delay in seconds field, enter the time interval in seconds which should be used by the application to capture an image.

text
The time counting to make the next shot starts right after triggering of the camera's shutter. The time for processing and saving the made shot does not affect the interval between shootings.
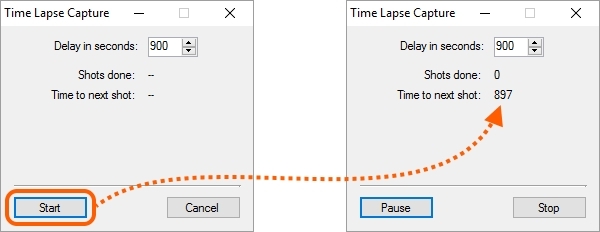
Step 4. Press the Start button. After that, a countdown will start in the Time to next shot field.
When the time to make a shot is elapsed, the application will run the Capture to File command. This command is described in details in the Capture to File section.
Then, the shooting and image processing will be made according to the defined settings. Please see the Chapter 5. Processing Settings to get more details.
Step 5. As soon as the image is done, the time counting to make the next shot will start. The value in the Shots done field will be increased by 1.
After making each shot, the step 5 will be repeated.
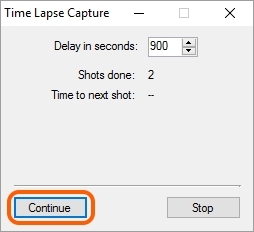
Step 5.1 You can stop Time Lapse Capture at any moment of time, look through the shots made, change the settings of camera and processing, and then, continue shooting. To stop Time Lapse Capture, press Pause; to proceed with, press Continue.

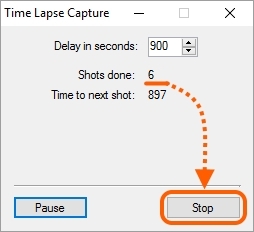
Step 6. When the necessary number of shots is reached, finish executing of Time Lapse Capture by pressing Stop.
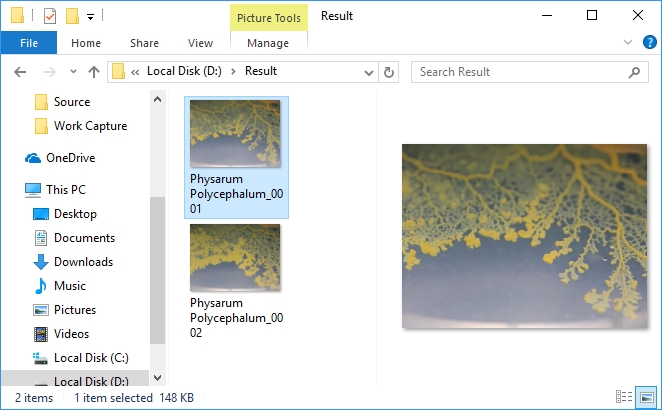
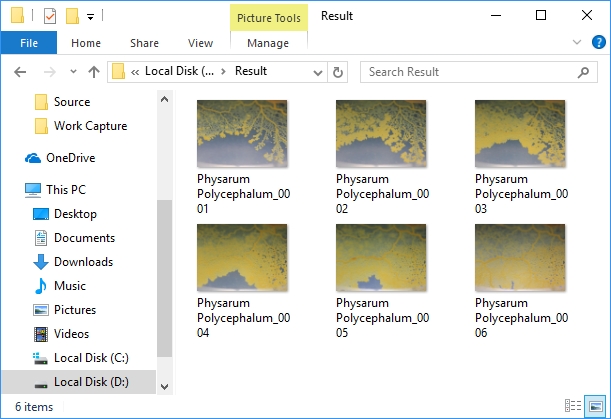
Step 7. Check the results of the Time Lapse Capture work: the images should be made with the defined time interval, then processed and saved onto the disk.
To close the form of Time Lapse Capture, press the Cancel button or ![]() .
.
Addition
•If you use the Time Lapse Capture option together with the Timer option, so first, there will be a shooting delay set for Time Lapse Capture, and then, the timer starts counting. For example: you have set for Time Lapse Capture a delay of 30 seconds and a time of 10 seconds for the timer. As the result, the time period between each shot making will be 40 seconds.