RenameFileByXL is a tool that renames a processed image file on the ground of the data from the xls file.
RenameFileByXL is developed to help photographers in their work in education entities for children and young people.
The work with the tool is performed as follows:
Stage 1. The photographer is provided with an xls file containing a table with information on the students: names, group numbers, phone numbers... The table must contain an ID for every person to be photographed, it will further become the name of the file.
Stage 2. The photographer uses inPhoto Capture PS to make and process an image. After that, RenameFileByXL will automatically run. Then, the photographer asks every photographed student his/her name and enter it in the search field of RenameFileByXL. The tool uses the name to find the student ID and appoints it to the image.
Stage 3. The photographer gets an archive of numbered photos where he can quickly find, when entering the respective name, all the required information on the photographed student.
 RenameFileByXL is a product of the IDPhotoCapture Company. You may contact our support service to get additional information on the tool and terms and conditions of its obtaining and use. Please see the Contact Technical Support Service section for the support service contact details.
In the example here below, we are going to connect RenameFileByXL to inPhoto Capture PS, then we will make and process an image, then RenameFileByXL will be automatically run and we will select, using the manual search, a cell in the xls file the value of which will become the image file name.
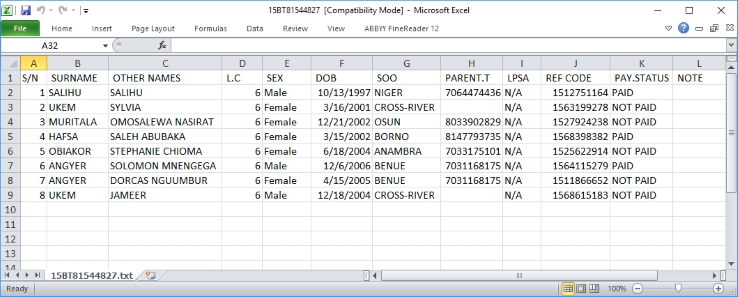
Our xls file contains a table with records about students. To rename the image file, we will choose values from the first column S/N - a student's number. The search will be performed using a student's second name - the SURNAME column.
The table in the xls file looks like this:
Contents of the example:
Part 1. Connection of RenameFileByXL to inPhoto Capture PS
Part 2. Shooting, Processing and Saving of Image