In the previous part, we have connected Paint.net, now let us see how it works.
Run image shooting and processing any way you wish, for example, via Capture to File.
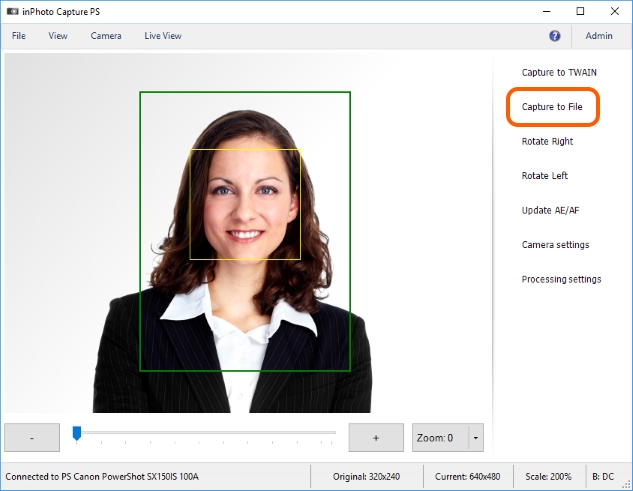
Further behaviour of inPhoto Capture PS depends on the processing process settings. It should be reminded that they are located in the File menu > Options > Processing tab.
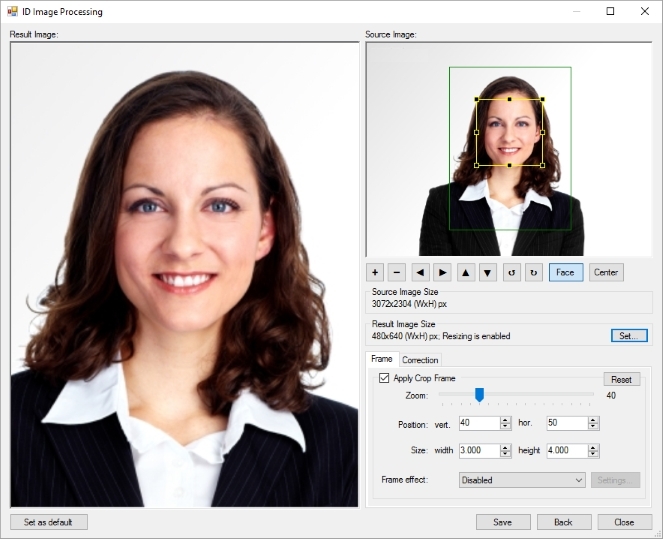
Thus, if the Show processing window setting is set to Always, the ID Image Processing dialogue will be always called up for photo being processed.
Upon the Show if necessary value set, the dialogue will be called up only for photos whose processing requires a user's participation.
If the Never value is chosen, the dialogue will not be called up.
More details on the processing setting may be found in the General Settings, ID Image Processing dialogue and Actions sections.
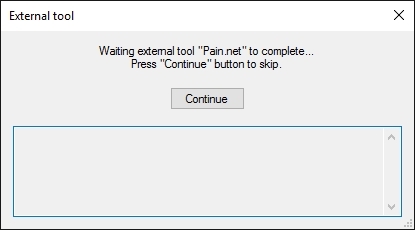
After the image has been processed, inPhoto Capture PS will run Paint.net. In addition, when an external tool is being started, inPhoto Capture PS displays the work completing waiting window for the external tool. The waiting window will close automatically after the external tool finishes interacting with inPhoto Capture PS. In this case, that means after the path to the image file is passed to Paint.net.
As the result of the external tool work, we have got a processed image that is open in a graphic editor without any additional actions from our part.
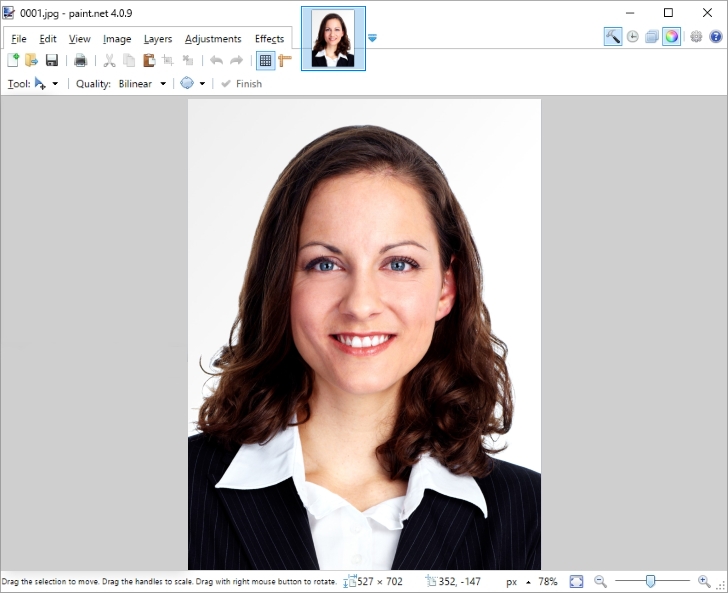
Then, we may continue editing the image in Paint.net. After completion of the editing, we will press in Paint.net the Save button and the photo with all the modifications made in the editor will be placed into the folder we have indicated for saving images in inPhoto Capture PS.