To create a processed image with a transparent background, the application must save it in a format that supports transparency, such as PNG or TIFF.
By default, the application preserves the format of the source file for the processed image. If original file is already in PNG or TIFF format, no further adjustments to file format are needed to maintain transparency.
However, if source file is in a format like JPEG (JPG) that lacks transparency support, you will need to convert it to PNG or TIFF during processing. Use the -o (or --out-file) key to make this change.
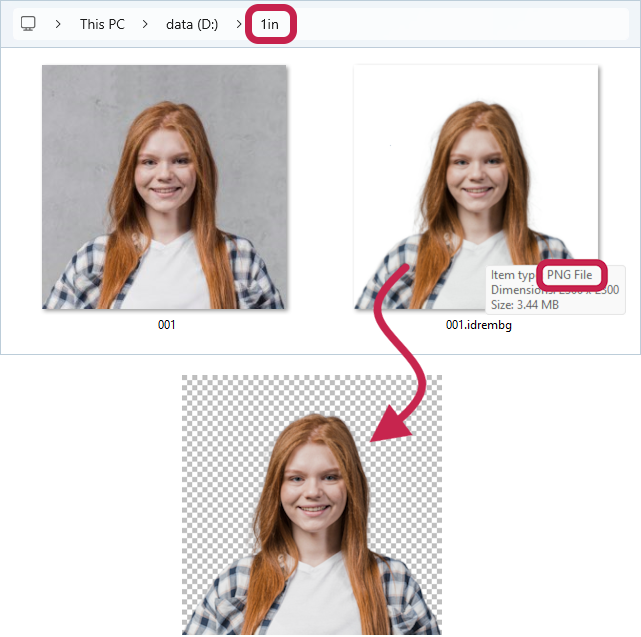
An example with the original file in PNG format:
Let's process the original file in PNG 001.png format and create a output file with a transparent background. The transparent background is set using the -b key with the value transparent.
>idrembg -i "D:\1in\001.png" -b transparent |
As a result, the file 001.idrembg.png with a fully transparent background will be saved in the D:\1in folder.
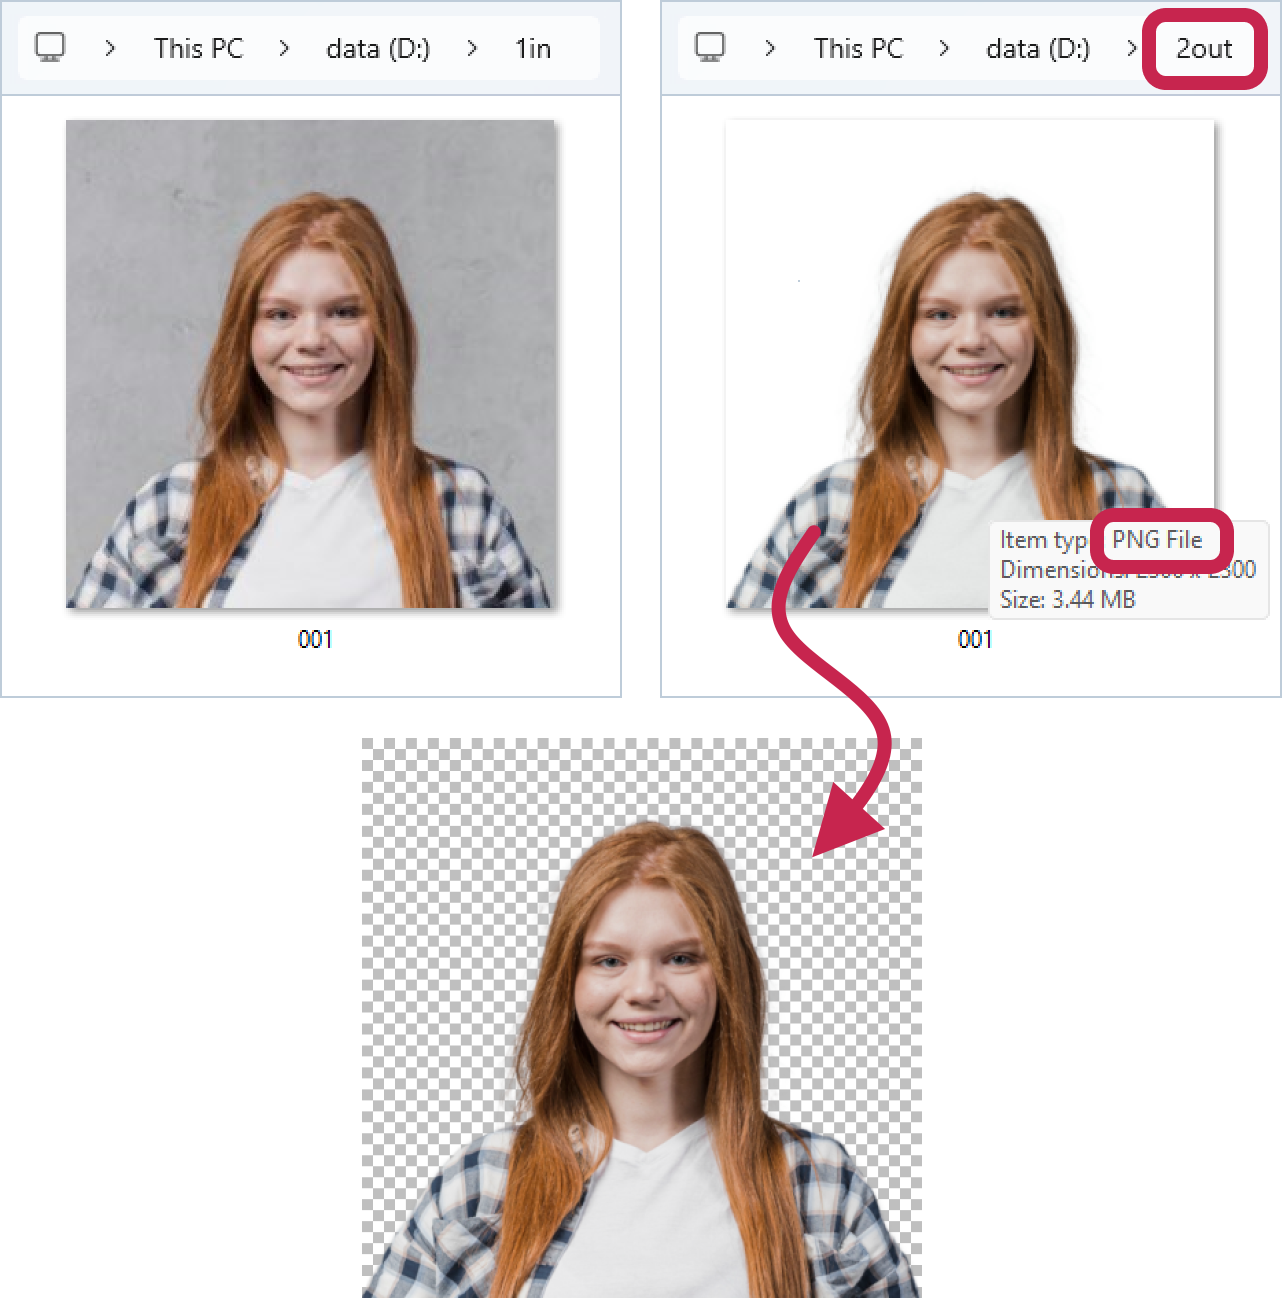
An example with the original file in JPEG format:
Let's process the original JPEG file 001.jpg and create a output PNG file with a transparent background.
The transparent background is set using the -b key with the value transparent.
The destination folder, name and format in which the processed file should be created will be specified in the -o key in the full name of the processed file - D:\2out\001.png.
>idrembg -i "D:\1in\001.jpg" -o "D:\2out\001.png" -b transparent |
As a result, a PNG file 001.png with a completely transparent background will be saved to the D:\2out folder.