The side menu is created to bring additional convenience to the application interface and for a quicker access to the frequently used functions.
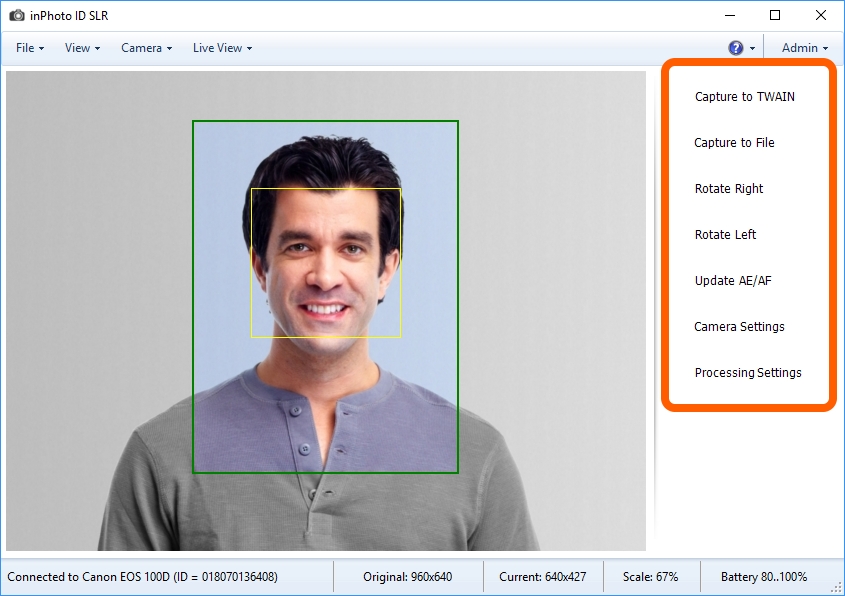
Let's take a closer look at the functions of each button.
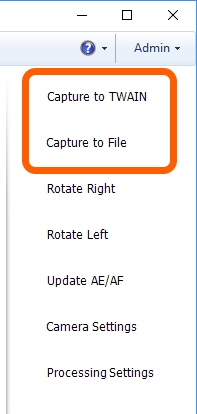
The Capture to TWAIN and Capture to File buttons run shooting and processing of the image.
These commands run the image processing with subsequent saving of the results. Actions started with the buttons differ only by locations to which the processing results will be saved. Capture to TWAIN saves the processed image to the application with which the connection is established through the TWAIN driver. If the connection through the TWAIN driver is not established, the button will not be active. Capture to File saves the processing results to the specified place on the drive.
You can read more details on the image processing methods in the Processing chapter.
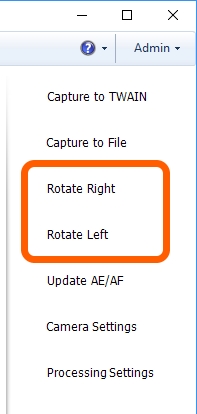
The Rotate Right and Rotate Left buttons are provided to rotate the image 90 degrees to the right or to the left. The image rotation is displayed on the preview and is taken into account in processing.
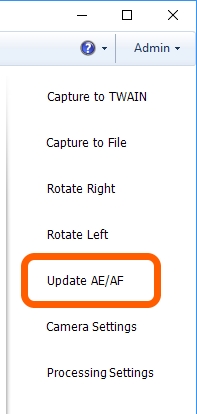
The Update AE/AF button updates auto focus and auto exposition of the camera.
Please refer to the Update AE/AF section for more details.
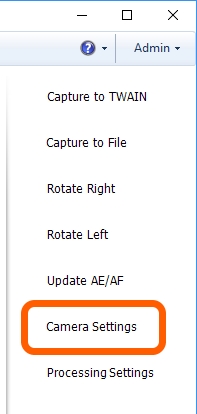
The Camera Settings button starts a dialogue window which contains camera settings.
You can get more details on setting the camera settings in the Camera setting section.
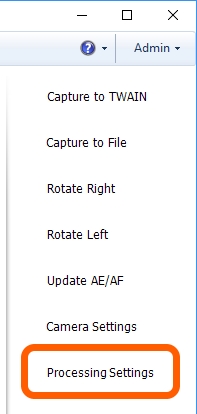
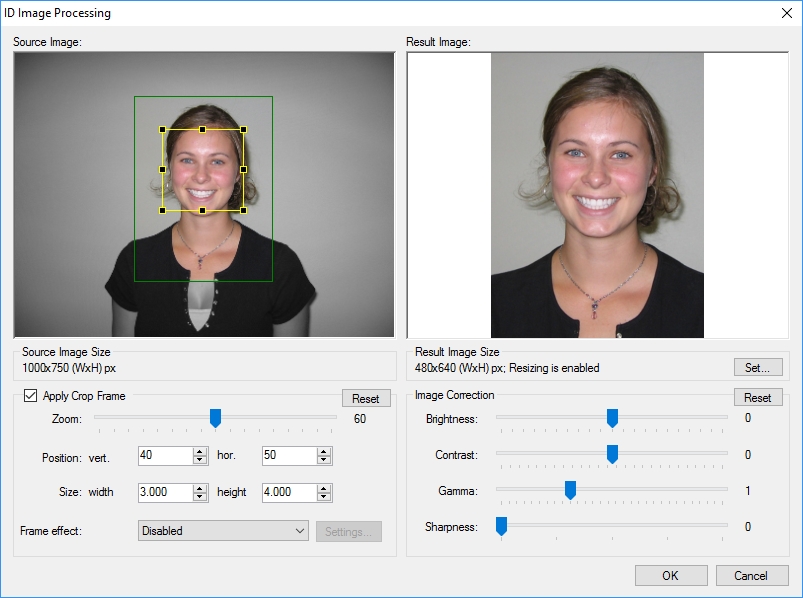
The Processing settings button calls up the ID Image Processing dialogue that contains all the settings regulating image processing: face detection settings, bounding box and subsequent framing settings, correction settings, resulting image size settings. In addition, a preview area is also provided in the dialogue; the preview allows you to see the image after processing with the current settings.
You can read more details on the ID Image Processing dialogue in the ID Image Processing dialogue section.