Open the File menu > Options > Save file.
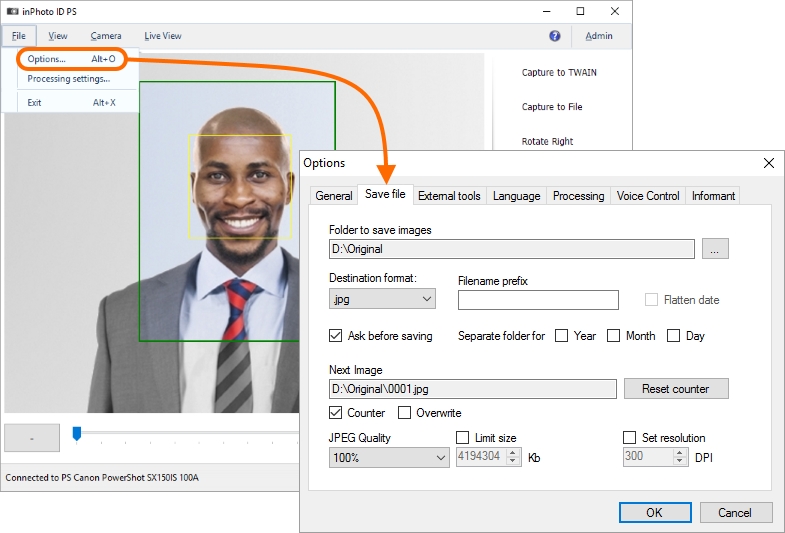
Please indicate the folder where the made and processed image to be stored.
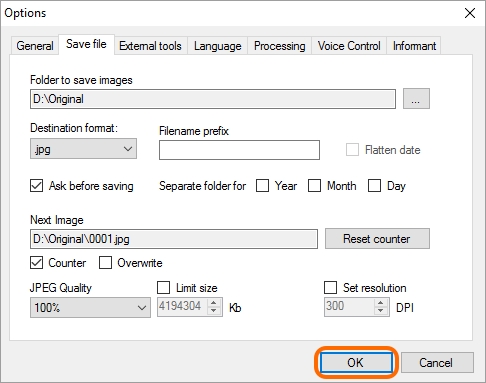
If you have appointed the $(ImageList) variable to the /imageFile argument, please leave the other settings unchanged.
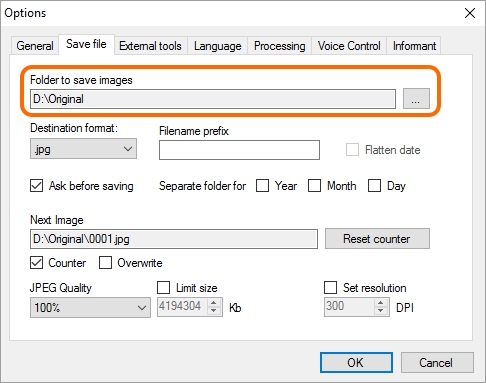
If you have appointed a line with file name to the/imageFile argument, you also have to enter the image prefix and deactivate the counter. The image prefix is to be the same as the file name assigned to /imageFile. The path to the folder for saving images must also be the same as the path to the folder indicated in the /imageFile parameter.
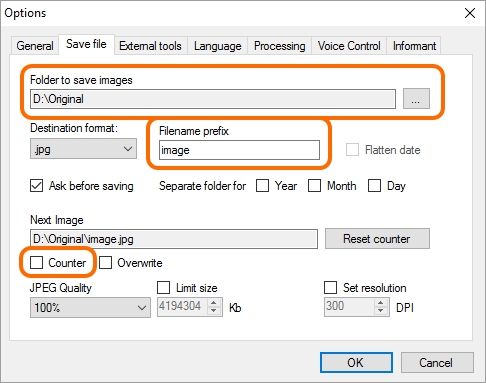
The saving settings are described in details in the Image Saving section.
Press OK.
Make a shot. For this purpose, press the Capture to File button. The processing settings are described in details in the Processing Settings and Processing chapters.
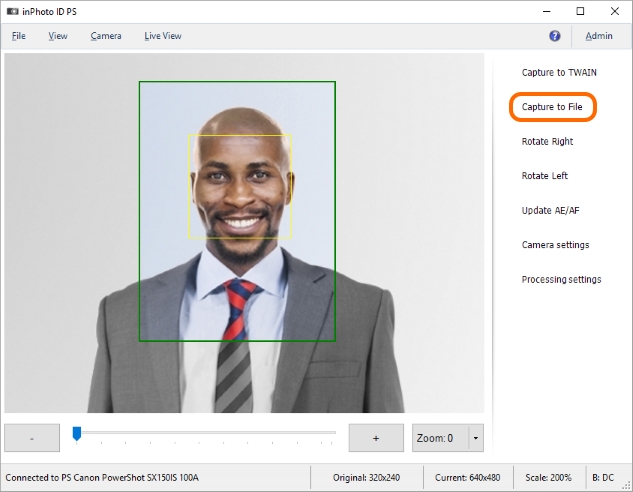
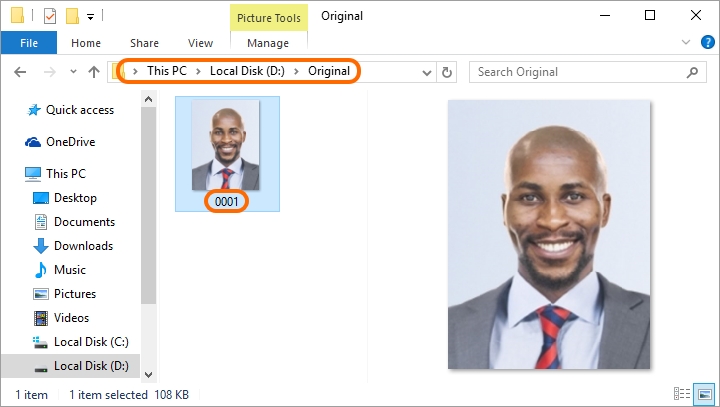
After pressing Capture to File, the image will be made, processed and stored into the indicated folder.
If the $(ImageList) variable has been assigned to the /imageFile argument, the file name will be formed from the number of the counter. In our example, it is 001.
If a line with image name has been assigned to the /imageFile argument, the file name will be formed from the stated prefix.
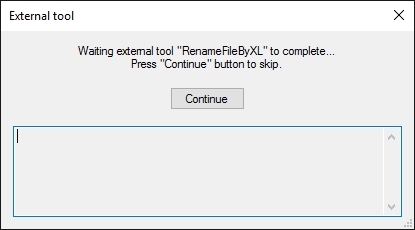
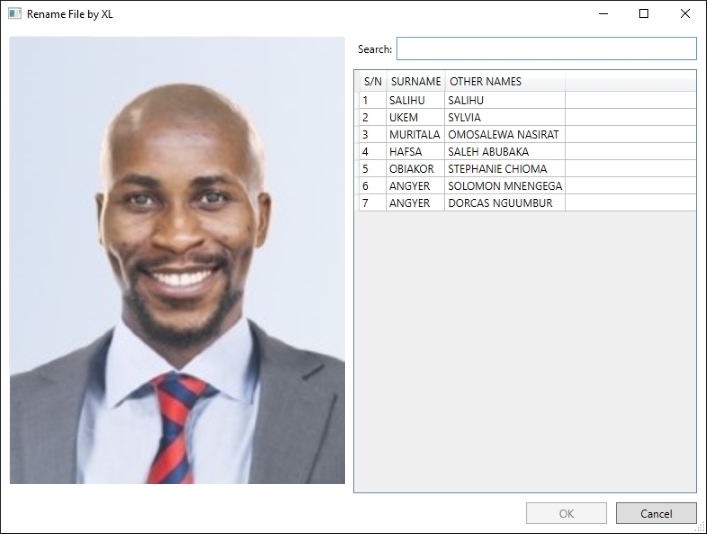
The RenameFileByXL tool will be run automatically in 1 or 2 seconds.
