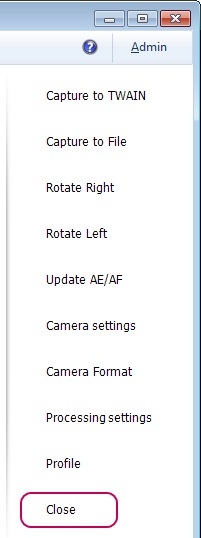
The side menu is created to bring additional convenience to the application interface and for a quicker access to the frequently used functions.
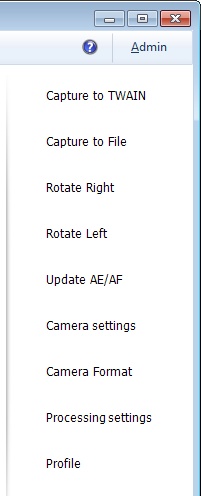
The appearance of the menu depends on the interface settings located in the File menu > Options > General tab > User Interface Settings section.
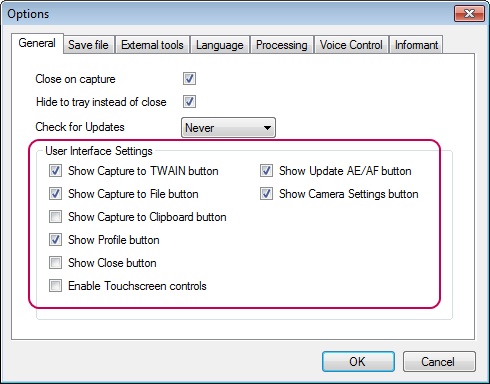
By default, the interface is set in such a way that not all, but only the most frequently used buttons are displayed in the menu.

text
Please note that the Capture to TWAIN menu item is originally disabled. You need to establish connection with the TWAIN driver to enable it. For more details on image capture to TWAIN, see chapter Capture to TWAIN.
Let's take a closer look at the functions of each button.
The Capture to TWAIN, Capture to File and Capture to Clipboard buttons run shooting and processing of the image.

text
By default, the Capture to Clipboard button is hidden. To make the button visible, please enter the File menu > Options > General tab and set the Show Capture to Clipboard button setting.
The Capture to TWAIN, Capture to File and Capture to Clipboard buttons run the image processing process with subsequent saving of the results. Actions started with the buttons differ only by locations to which the processing results will be saved. Capture to TWAIN saves the processed image to the application with which the connection is established through the TWAIN driver. If the connection through the TWAIN driver is not established, the button will not be active. Capture to File saves the processing results to the specified place on the drive. Capture to Clipboard saves image to the clipboard.
You can read more details on the image processing methods in the Processing chapter.

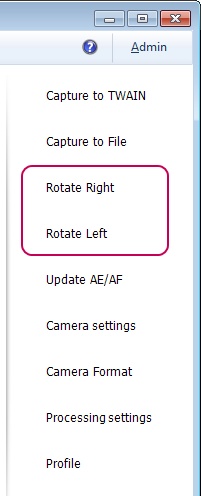
The Rotate Right and Rotate Left buttons are provided to rotate the image 90 degrees to the right or to the left.
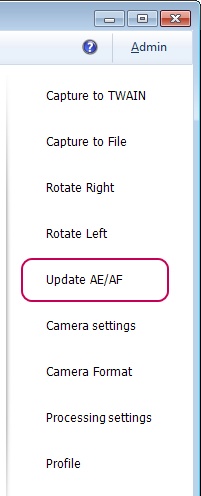
The Update AE/AF button updates auto focus and auto exposition of the camera.
Please refer to the Update AE/AF section for more details.
The Camera Settings button starts a dialogue window which contains webcam properties.The dialogue is a part of the camera driver. The Camera Settings button allows you to launch the driver and configure the webcam directly from inPhoto ID Webcam.
You can get more details on setting the webcam properties in the Camera setting section.

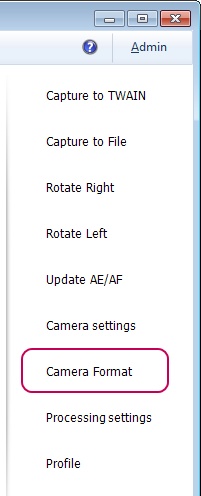
The Camera Format button launches a dialogue which contains available resolutions for the webcam.
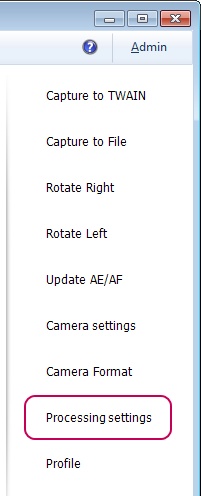
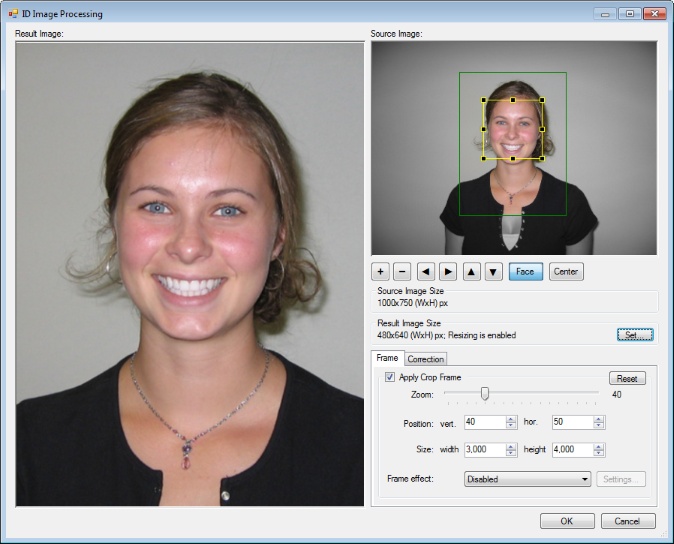
The Processing settings button calls up the ID Image Processing dialogue that contains all the settings regulating image processing: face detection settings, bounding box and subsequent framing settings, correction settings, resulting image size settings. In addition, a preview area is also provided in the dialogue; the preview allows you to see the image after processing with the current settings.
You can read more details on the ID Image Processing dialogue in the ID Image Processing dialogue section.
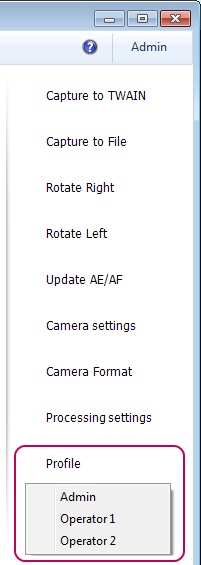
The Profile button calls up the menu consisting of the list of all profiles created in the application and the Reset profile item. The menu allows applying or cancelling the profile for the current application session. To apply the profile, just select it from the list. Then, the name of the specified profile will be displayed on the Profile button. To reset the profile, choose the Reset profile item from the menu. After that, the profile name will disappear from the Profile button. If the Reset profile item is not available in the menu, the profile for the current application session is not set. More details on working with profiles may be found in the Profiles chapter.
Close button closes the application or minimizes it to tray depending on the status of the Hide to tray instead of close setting. More details on closing the application may be found in Work Completion chapter.
For your convenience, the side menu interface in TouchScreen devices may be made button-operated. For this purpose, enter the File menu> Options > General tab and enable the Enable Touchscreen controls setting.
