The IDPhoto Processor application is being installed on a computer online using the installation wizard.
Run the installation package file (a file with exe extension) to start the installation process.
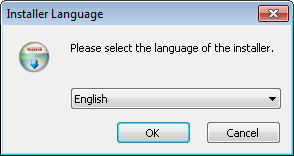
Step 1. Select the language of the application interface in the window appeared and press OK.
Step 2. In the next window, the wizard recommends you to close all the active applications. This will enable the application to update system files without restarting the PC. Press Next to continue the installation.

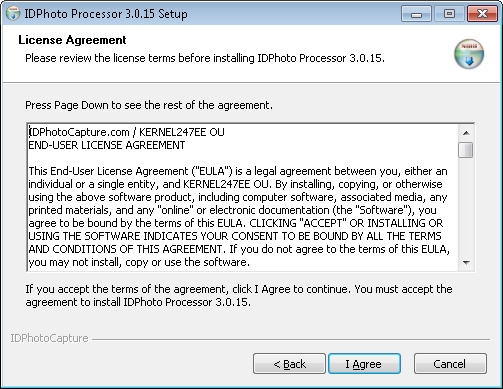
Step 3. At this step, you should read the licence agreement. Read it carefully and press I agree if you agree with all the clauses. Once this is done, the installation of the application will continue. If the licence agreement is not accepted, the installation will be cancelled.
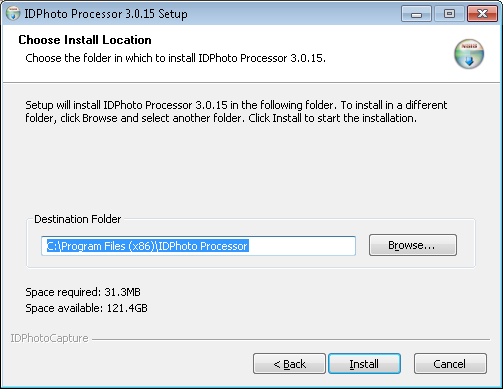
Step 4. At this stage, the wizard offers selecting a folder to which the application will be installed. Press Install to start installing the application.
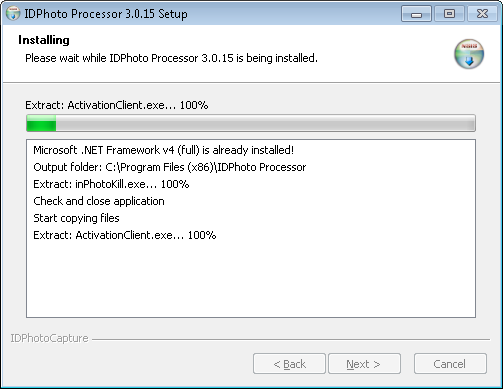
Step 5. At this step, the application installation window will appear. The installation process may take some time. Please wait until it has completed. After the installation has completed, the wizard will automatically move to the next step.
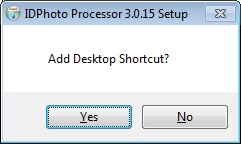
Step 6. In this dialogue, the wizard offers creating a desktop shortcut for the application. The application shortcut is added to the Start menu and to the list of TWAIN drivers in any case during the installation. If you also wish to add the shortcut to the desktop, press Yes, if the shortcut in the Start menu is enough, press No.
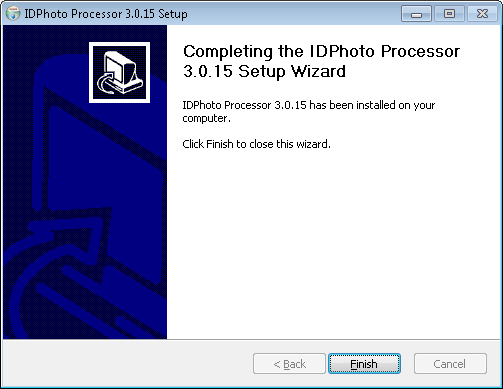
Step 7. This is the last step of the wizard. Here it informs you that the application has been installed on the computer. Press Finish to complete the installation.
Done! IDPhoto Processor has been installed. Run the IDPhotoProcessor.exe application file to start working with the application.
The next Start-up chapter describes how to start up IDPhoto Processor.